 RSS Feed
|
Thank you for taking the survey! Results will be published soon!
-Mel
5 Comments
Burnout: It's No Fun for Anyone Now that the summer months are upon us, I thought it might be a good idea to share a homework assignment with you that I give myself each summer; Recharge, Reflect and Fight the Burnout. For me, this is an important part of summer vacation and an important part of being an educator. Teachers who are experiencing burnout struggle to complete the tasks set before them. Districts who have burned out teachers struggle with a high turnover rate and higher levels of disciplinary actions against its teachers. Students struggle to learn from a teacher who has the weight of the world on their shoulders. It’s a problem for every stakeholder involved, and its all too common. CausesBurnout is a huge issue in the world of education and most teachers have felt it at some point. It might show as exhaustion, anxiety, isolation or simply a feeling of hopelessness. Teaching is tough; we knew this from the beginning, but teaching is also incredibly rewarding. So…what causes this depressing feeling? For starters, we spend more time teaching and less time planning than some of the most high-scoring countries in the world- countries that regularly best us on international tests, according to the 2013 TEACHING AND LEARNING INTERNATIONAL SURVEY (TALIS). Walker's article “The Ticking Clock of US Teacher Burnout” (The Atlantic, 2016) shows how we stack up against Singapore, one of the top scoring countries in the world. Teachers in Singapore spend about the same amount of time working as we do (47 hours in Singapore, 44 hours here in the US) but in Singapore only 17 of those hours are spent with actual student contact. In the US that amount skyrockets to almost 27 hours of actual teaching time. That equals less time to plan, collaborate and develop quality plans for our kiddos. We actually score among the top countries for hours spent working and hours spent teaching- but we have fairly low scores on international testing. This coupled with financial constraints, especially where the arts are concerned, has led to a “do more with less” attitude all over the United States (thanks, Betsy). We’re feeling it. We’re dealing with it the best we can. So…what can we do to keep ourselves motivated? Keep a Journal Write down what worked and what did NOT work this past school year. Was there a lesson that you were especially proud of? Was there an activity that failed spectacularly? Saving your thoughts on your lessons now will save you time trying to remember them in the fall. It will also give you time to think about possible extensions and solutions. Many educational leaders support keeping a journal as a great exerciser in reflective thought. The British Council (2016) points out that journaling is a very effective way to organize thoughts on:
Learn Something New Take a cooking class, learn to crochet, finally take that pottery course that the local community center offers. Do something that is new, exciting and NOT related to what you're doing in your classroom. Even learn to play a new instrument, but for your own enjoyment and not to further your curriculum. Taking care of your own creative needs will help you be a better teacher by reducing stress and giving you a break from your "teacher brain". This can all be done for free, too! Ask a friend, check out pinterest or watch a you tube video. Make a List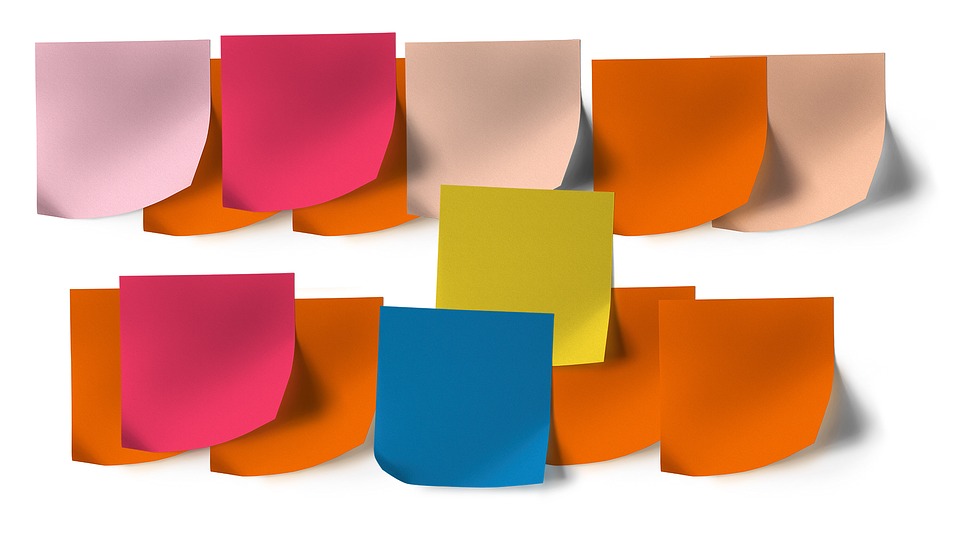 Already have plans to revamp some things this summer? Make a "Sticky Note Wall". Write out each step or action needed on a post it note and slap them on an empty wall. Once your'e done with a task, toss the corresponding sticky note. Commonly used as a technique to help those with ADD/ADHD, the sticky note wall is a great way to keep track of what needs to get done, and a great way to visually represent all the progress you make (Duncan, 2013). Disconnect Disable your work e-mail on your iPhone, take a break from your curriculum mapping and save that concert planning for later! Give yourself a chunk of time with NO school related activities. Even if its a only a few days, this will give you much needed R and R from something that you do all year long. We teachers are notorious for taking our work home with us- so we're essentially working around the clock. Give yourself a breather. Your Start-Of-The-New-School-Year-Teacher-Self will thank you! Resources Duncan, D.(2013). Sticky Note Memory. ADHD Inside Out. https://bcinterioradhdclinic.com/coach/adhdinsideout/blogs/sticky-note-memory-2.html Okçu, V., & Çetin, H. (2017). Investigating the Relationship among the Level of Mobbing Experience, Job Satisfaction and Burnout Levels of Primary and Secondary School Teachers. Universal Journal Of Educational Research, 5(1), 148-161. Tice, J. (2016). Reflective Teaching: Exploring Our Own Classroom Practices. The British Council. https://www.teachingenglish.org.uk/article/reflective-teaching-exploring-our-own-classroom-practice Walker, T. (2016). The Ticking Clock of U.S Teacher Burnout. The Atlantic. https://www.theatlantic.com/education/archive/2016/09/the-ticking-clock-of-us-teacher-burnout/502253/ How do YOU fight teacher burnout? Have a question or suggestion? Let us know in the comments below!
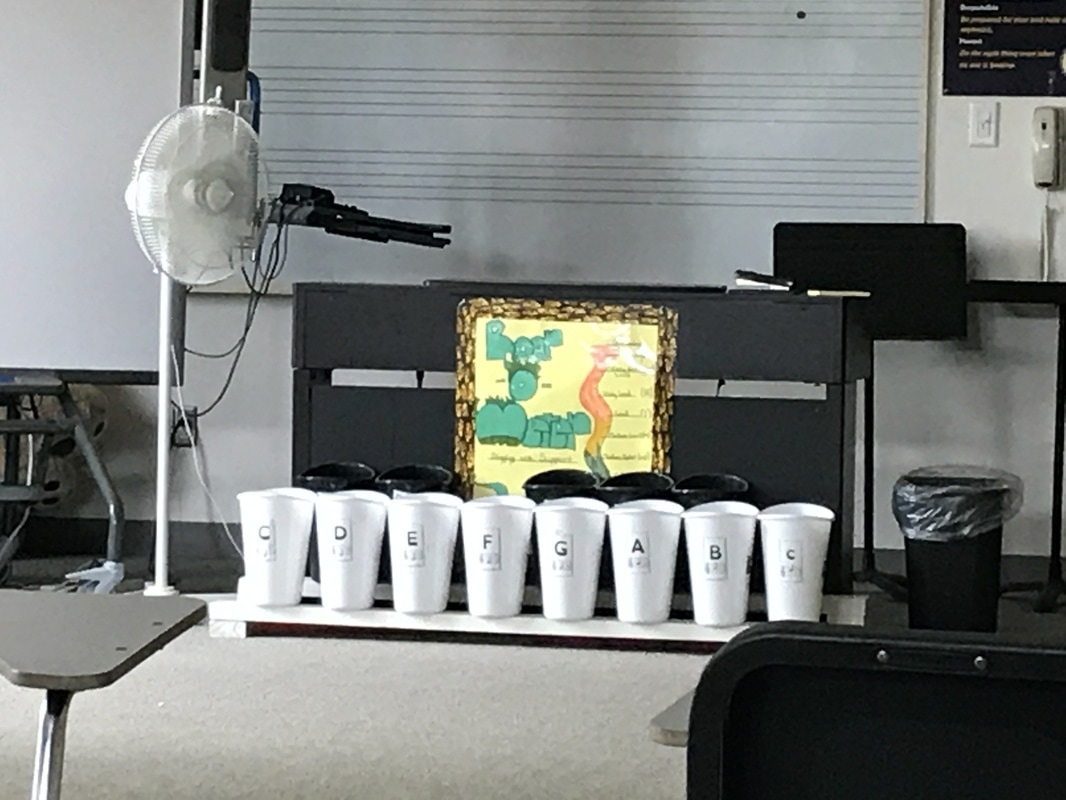
Happy Music Making! -Mel.  Photo: A homemade Boomwhacker Keyboard Looking for a fun way to store your boomwhackers AND reinforce concepts like sharps and flats? Try a boomwhacker keyboard! This one took my boyfriend about 20 minutes to put together and it's so simple. You'll need: 2 long 2x4s (look in the cull section at home depot- that's the DISCOUNT wood section.) 8 white garbage bins and 5 black garbage bins from the dollar tree. Screws Paint Glue (if desired for EXTRA hold) Labels for the bins (See File Below) Screw the frame together, sand the edges and paint it/seal it. The back section needs to be higher than the front section so that you can see the labels on the bins, Then screw the garbage bins in and label them. That's it! We didn't use a template or exact measurements, either. Voila!
 Did you try this in your classroom? Have a question or suggestion? Let us know in the comments below!
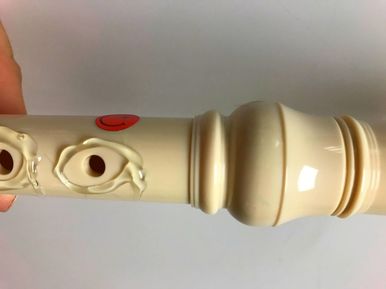
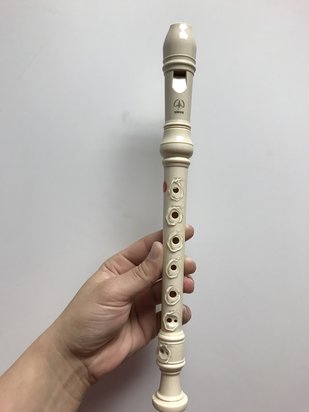
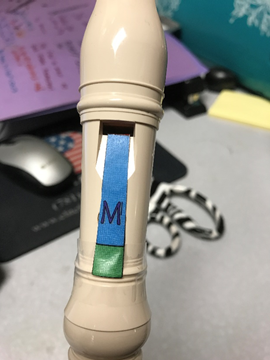
Happy Music Making! -Mel.  Photo: Recorders in their class bin with recorder "belts" . Use yarn to create inexpensive, bright belts. Inclusion in the music classroom is so beneficial for students- but what to do when tasks become too complex for some of our diverse learners? Modifications and scaffolding are an integral part of ensuring that ALL students benefit from class time, and most of the time it's up to us to develop and hone these teaching tools. Recorder can be a particularly tricky instrument to modify for given the skills required to play: hand/eye coordination, literacy, finger dexterity, breath control and internalization of the beat to name a few. Recorder requires so many skills that can sometimes be difficult for students with special needs. Here are some simple fixes that work for my room that might help these students in yours! Problem: Students Have Trouble with Remembering Which Hand Goes On Top
Problem: Students Do Not Have Enough Finger Dexterity to Feel Holes/Completely Cover Holes.
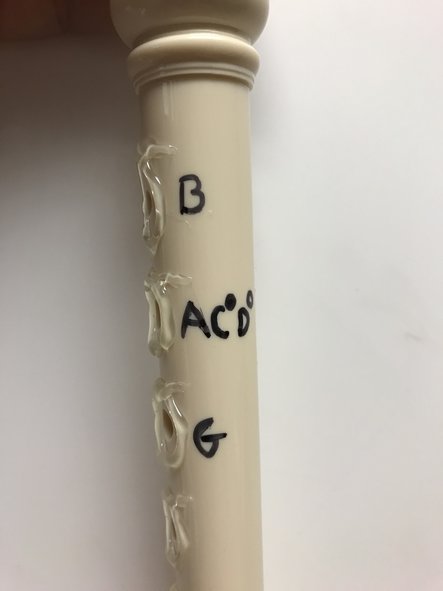
Problem: Students Can Not Remember Finger Patterns in Real Time
Problem: Students Can Not/Will Not Control Breath
Did you try this activity in your classroom? Let us know how it went in the comments below!
Happy Music Making! -Mel. 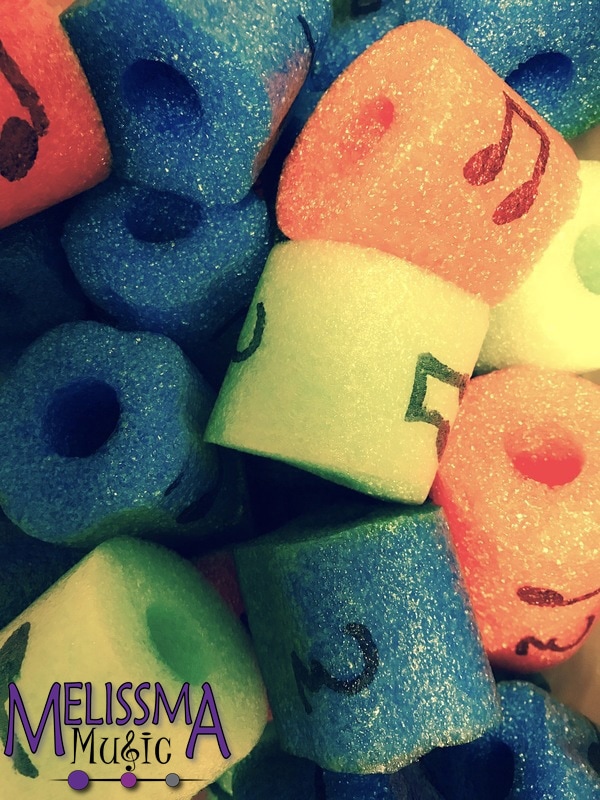 Photo: Pool Noodle Chunks Looking for a fun rhythm activity on the cheap? I LOVE it when I can make creative, fun activites and spend little to no money while doing so! For this fun activity, take a few standard issue pool noodles and chop them into 2 inch sections (sharp scissors will do the trick). Go to the Dollar Tree- you can make enough for an entire class by spending about 8 dollars. Using a sharpie, draw quarter notes, 8th note pairs and quarter rests on the noodles. I go over this with clear nail polish or elmer's glue so they don't rub off. 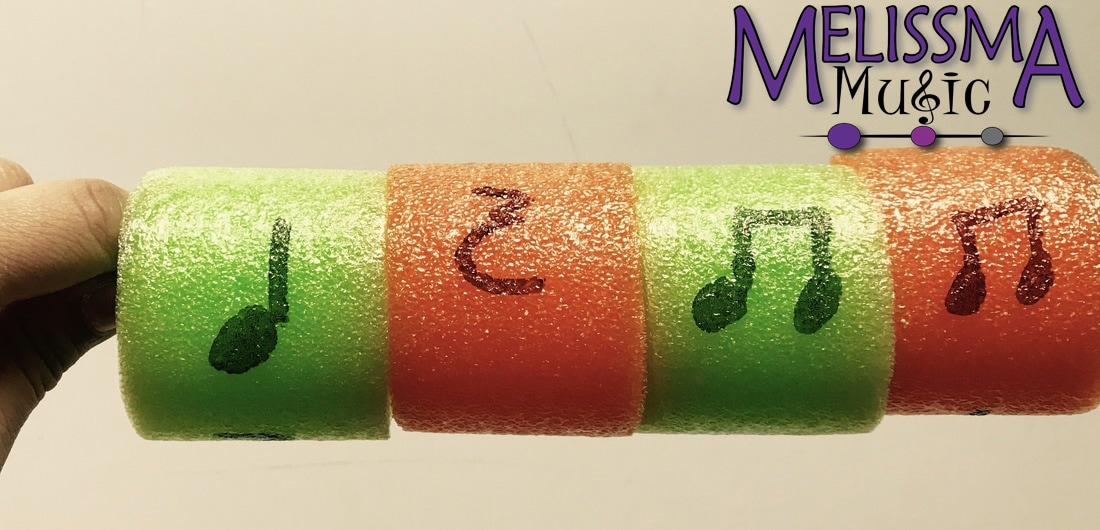 Photo: A Rhythm Kabob made from a mallet and pool noodle chunks. Using a mallet with a large tip, have students put the noodles on the mallet to make thier kabob. I usually tell them what side of the room we start reading from- Library Side- and what side of the room we end reading at- Hallway Side-. Make sure the students are oriented to make this work for the set up in your room. Students can either: Listen to the teacher play/say a pattern and write it down on thier kabob by turning the noodles. or write a rhythm pattern and then play it on an instrument. We like to do this with handchimes. I've found that having students place their kabob on the ground and turn it there works better than having them hold it in their lap or in thier hand. 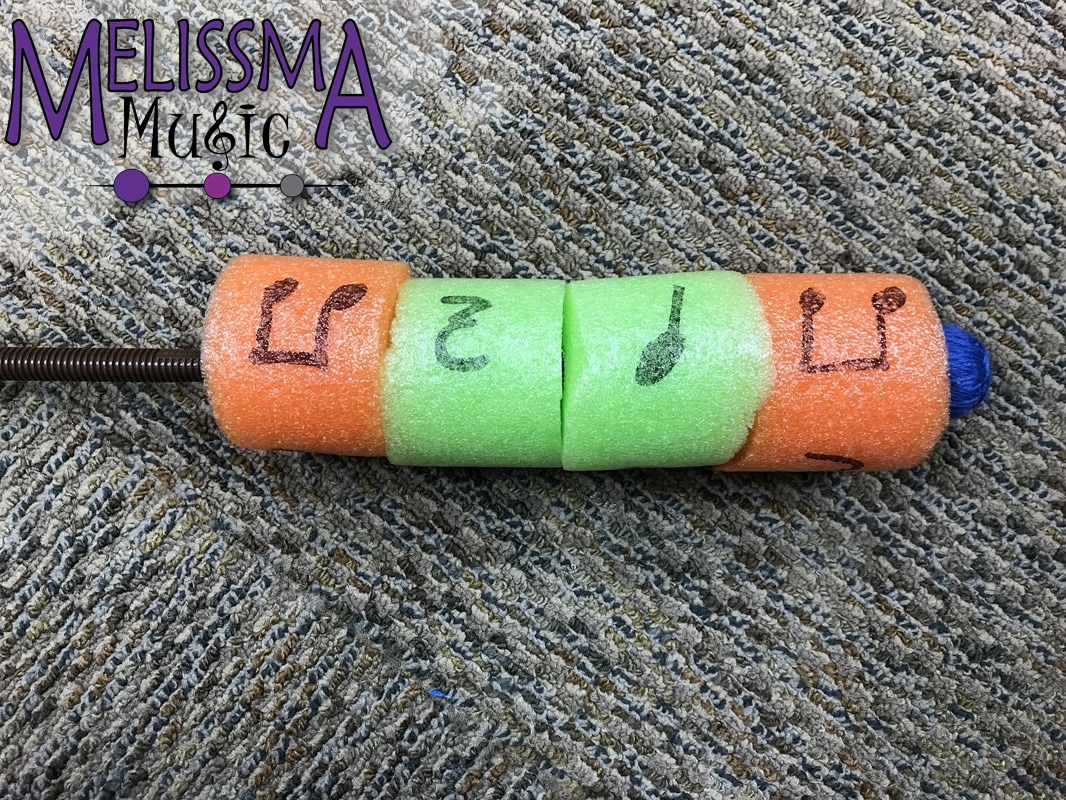 Photo: A lone kabob waits to be used. Have students keep their kabobs on the floor for the best results! Did you try this activity in your classroom? Let us know how it went in the comments below!
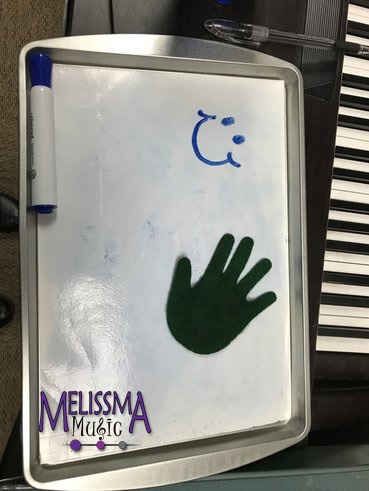
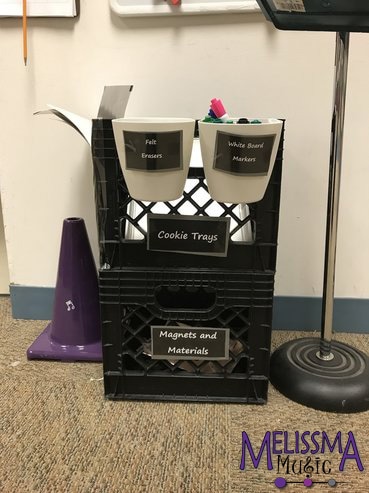
Happy Music Making! -Mel. 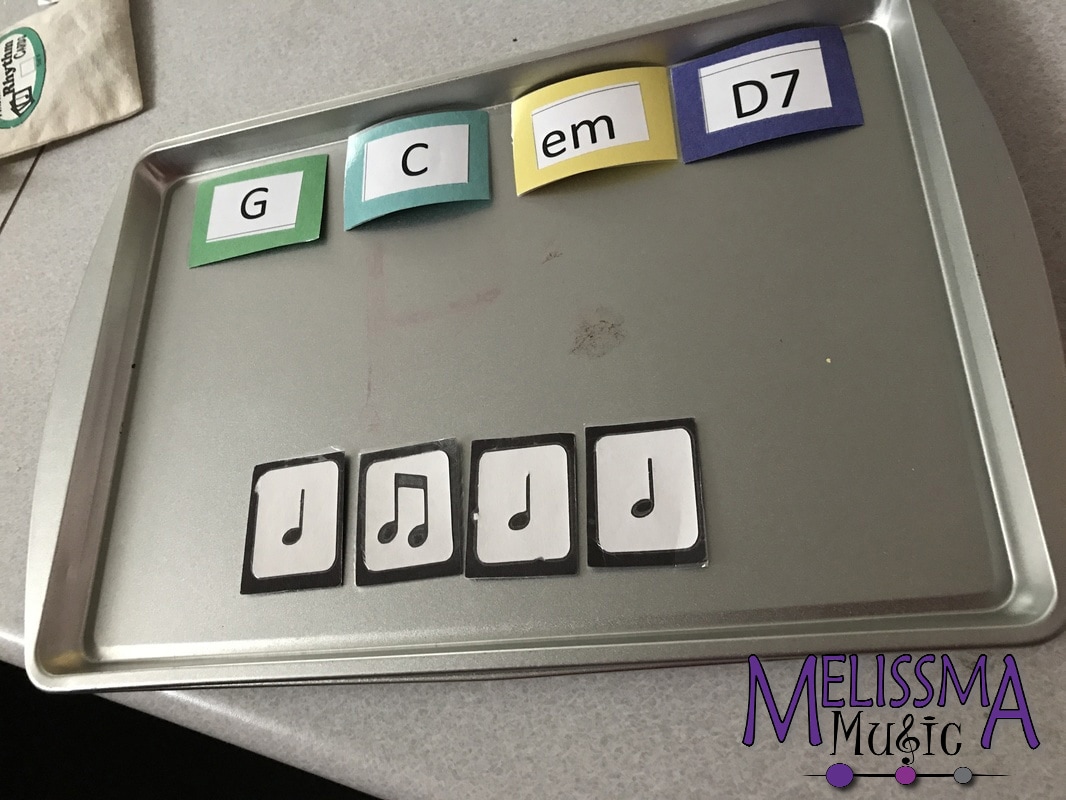 Picture: Magnetic rhythm cards form an ostinato while magnetic chord cards form a chord progression for a ukulele composition project. Cookie trays from the dollar store are a great way to get students composing! Using magnetic rhythm cards, students can create different rhythmic patterns. They can even write on the laminated cards with an Expo marker to create simple melodies (Example: Using B,A and G while composing for recorder.)
The cookie trays can even double as a white board! Laminate peices of thick white construction paper and glue magnets on the back, Expo markers will easily wipe off the laminated paper with a peice of felt. You can even cut the felt in fun shapes using a die cut press or cricut machine.
Did you try this activity in your classroom? Let us know how it went in the comments below!
Happy Music Making! -Mel.  Secong grade students compose using solfege cards and boomwhackers Hey! It’s the first blog post of MLOG- Melissma Music’s Music Ed Blog! Huzzah!
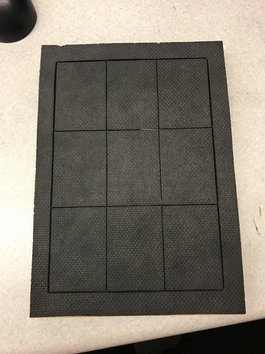
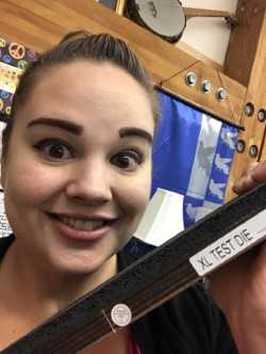
This is what it looks like: You can get one here http://www.mpmschoolsupplies.com/p-32496-ellison-prestige-pro-machine.aspx?gclid=CK-W7caJp9QCFYOEswod1ccHPw or a million other places online! 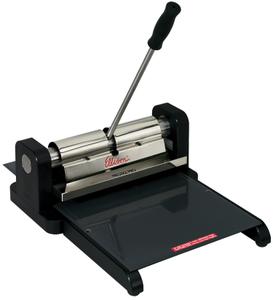 The Ellison Prestige Pro Die Press It’s a fun little contraption that cuts out paper in specific shapes, letters, designs, anything really. If you laminate the paper before you cut it, things become even easier and the cut outs will last a really long time! They even have notation cut outs! One of my favorite parts of this little machine, however, is the test block.
The test block- perfect for making student-sized cards! This block comes FREE with the machine! Usually used to test the pressure distribution on the die cutter, I’ve found that this handy block can be used to make perfectly sized cards that can be used for a myriad of different projects in the music room. The best part? It comes FREE with the machine and is rarely, if ever, used! I bet if your school has one, It’s sitting all alone having never been used once. Which is sad, because it’s so handy dandy! Composing with the cards that the test die produces is super easy and turns an aural experience into something that is tactile and visual as well. This helps our younger leaners and can help to alleviate some of the abstractness that goes along with traditional composing exercises. For a few examples, I use the die-cut cards to compose using solfege (2nd Grade), we use them to figure out ukulele chord progressions for spoken-word songs (5th Grade) and we use them for recorder compositions (3rd grade). For this post I’m going to give you a more detailed look at the solfege exercise. I’ll break down the other lessons in future posts. 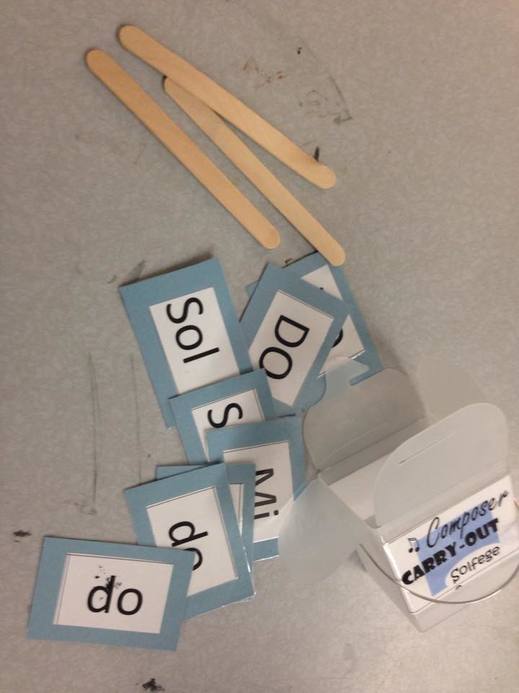 Composing with Cards, Pipe Cleaners (or Popsicle Sticks), Boomwhackers and a Take Out Box This is a fun activity that my second graders love! You’ll need: -Small take out boxes- I order them from Oriental Trading Company and they work well for a lot of different projects http://www.orientaltrading.com/web/browse/processProductsCatalog?sku=3/1271&source=GUIDED_NAV_RESULTS -Small cards with different solfege written on the front. I cut them out using an Ellison die press (see the info above). I stick these inside the carry out boxes to make a little “Carry Out Composer” kit. If you’d like, here is the file for the cut outs that get glued onto each card- make sure to laminate so that your hard work is not lost!
-D,M,S,d boomwhacker for each group
-pipe cleaners or Popsicle sticks for bar lines -optional: movement scarves to “cover up” work when done. The process is super easy. Each group gets their materials- the carry out boxes contain 2 of each syllable so there are only enough cards to make two complete measures with 4 quarter notes each. Let the kiddos go to town! They can experiment with different melodies created using D,M,S and d. They should be able to play their melodies on boomwhackers and then practice singing them as well. They should be fairly familiar with each syllable and its hand sign- and I usually do some echoing beforehand to get their ears working. Give the kids a bit of time to work on their songs… but then through them a curveball. Play your songs… do they sound like a complete thought? What’s missing? The song needs to go back to Do to sound like it’s over! Now you need to re-arrange your songs so that Big Do is the last note. Then, each group will play their song for the class. Sometimes we even rotate groups- I’ll make sure each scarf is a different color and the kids will rotate to the different color stations and play that group’s creation. It’s a really easy solfege reinforcement lesson- plus the kids are working on steady beat, pitch matching, bar lines, tonality, working in a group, social skills and more. Try it out and let me know how it goes in the comments section below! -Mel |
Mel SteigerHi-I'm Mel. I teach Music and I make stuff. If I have any really interesting ideas that I think you'd find useful, I'll post them here! Categories
All
Archives |
||||||||||||||||||