 RSS Feed
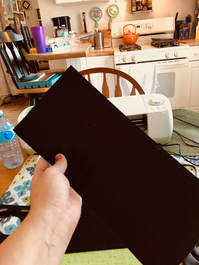
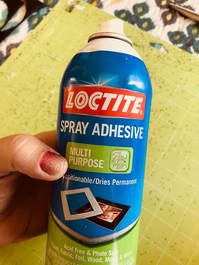
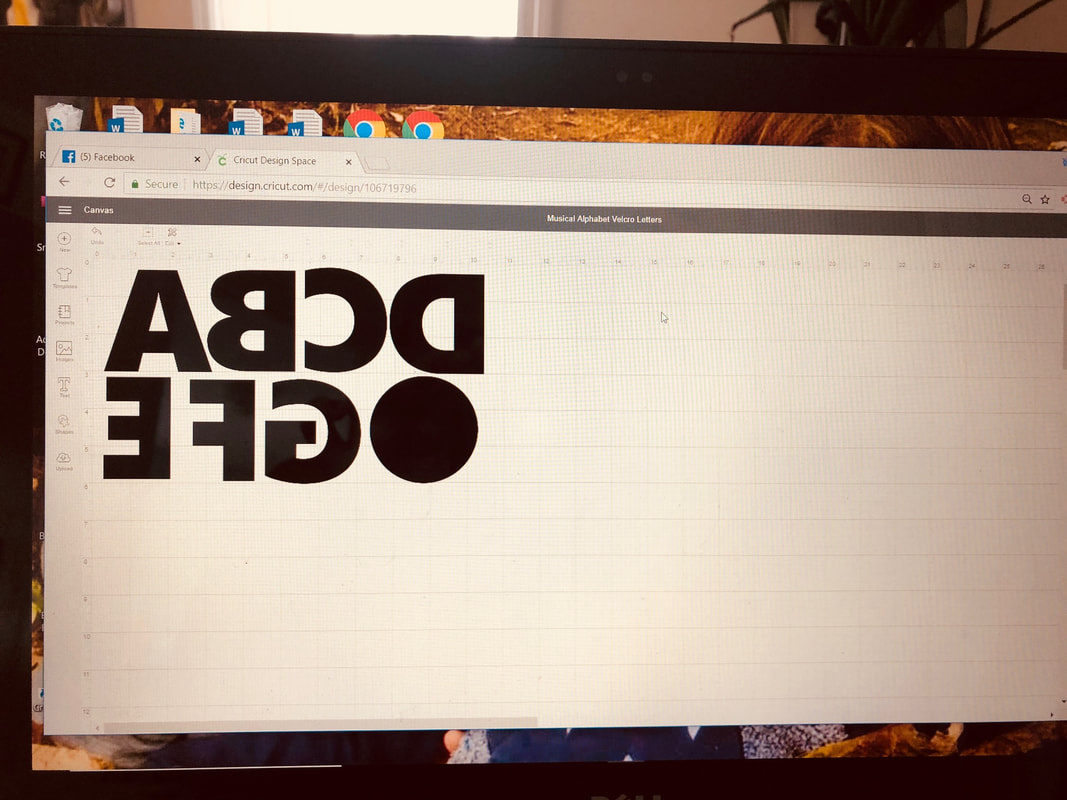
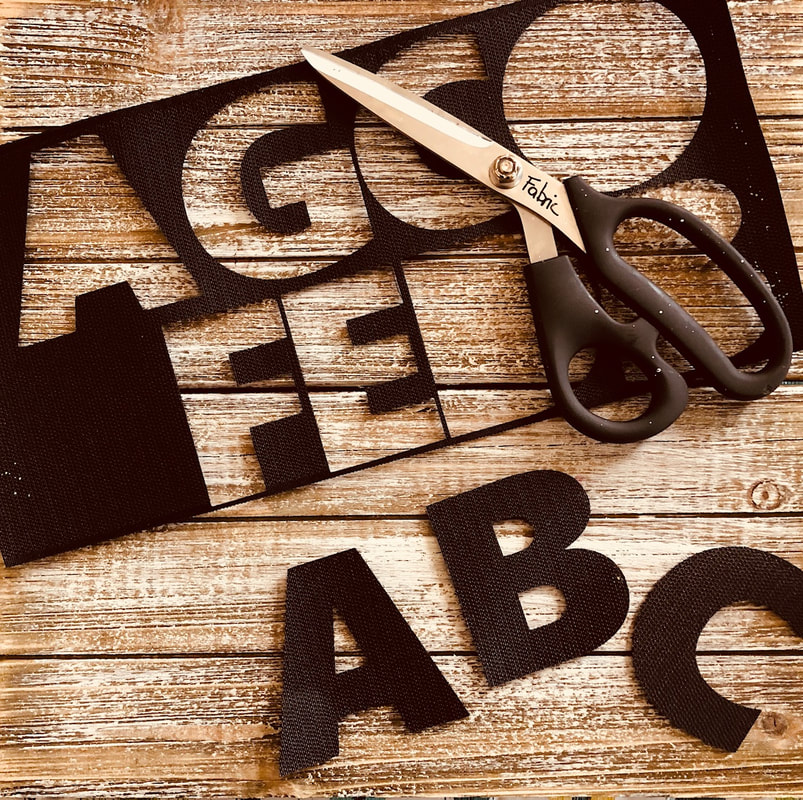 So you have a carpet in your room and need to figure out seating? Carpets help to absorb the sound we make... so you want to keep your carpet at all costs! However you can't do anything to permanently mark the carpet... administration won't like that. I used to use carpet squares, but now many states now have rules about any and all fabrics/rugs in the classroom- they must meet California regulations for fire safety. So what do you do? Well, this neat cricut craft will help with seating AND meet all the regulations: Velcro Carpet Letters! You will need: Circut Explore (or Higher) and Standard Mat available Here You can also use a die-cut machine if available Spray Adhesive Available Here Hook Side Only Fastener- 6 inch by 1 yard ( I bought 3 yards and it made 56 letters) Available Here
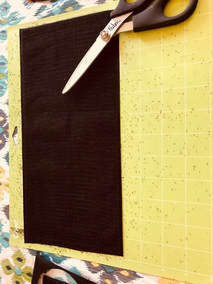
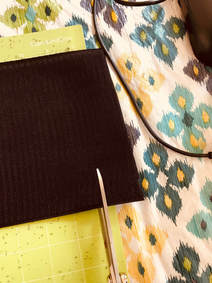
 Cut it out! Don't mind the stubble- it comes off with a good scraping! 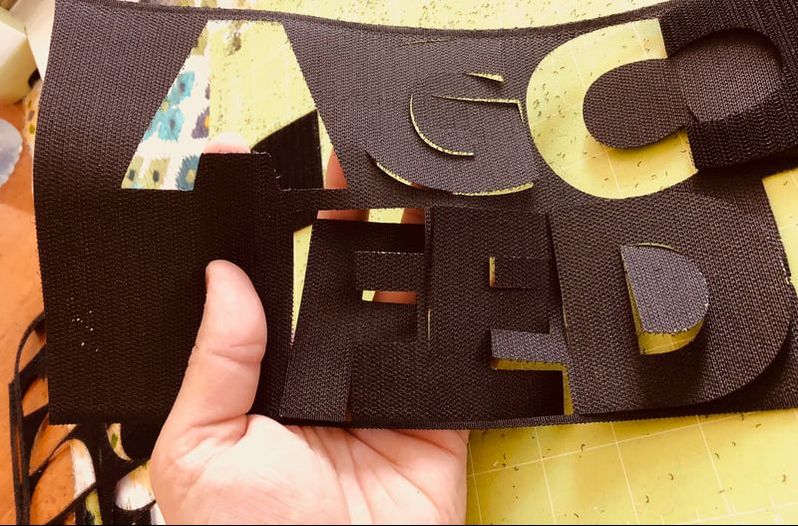 Peel and Enjoy! I'll be applying a layer of T-shirt paint to color-code these for my seating charts!
0 Comments
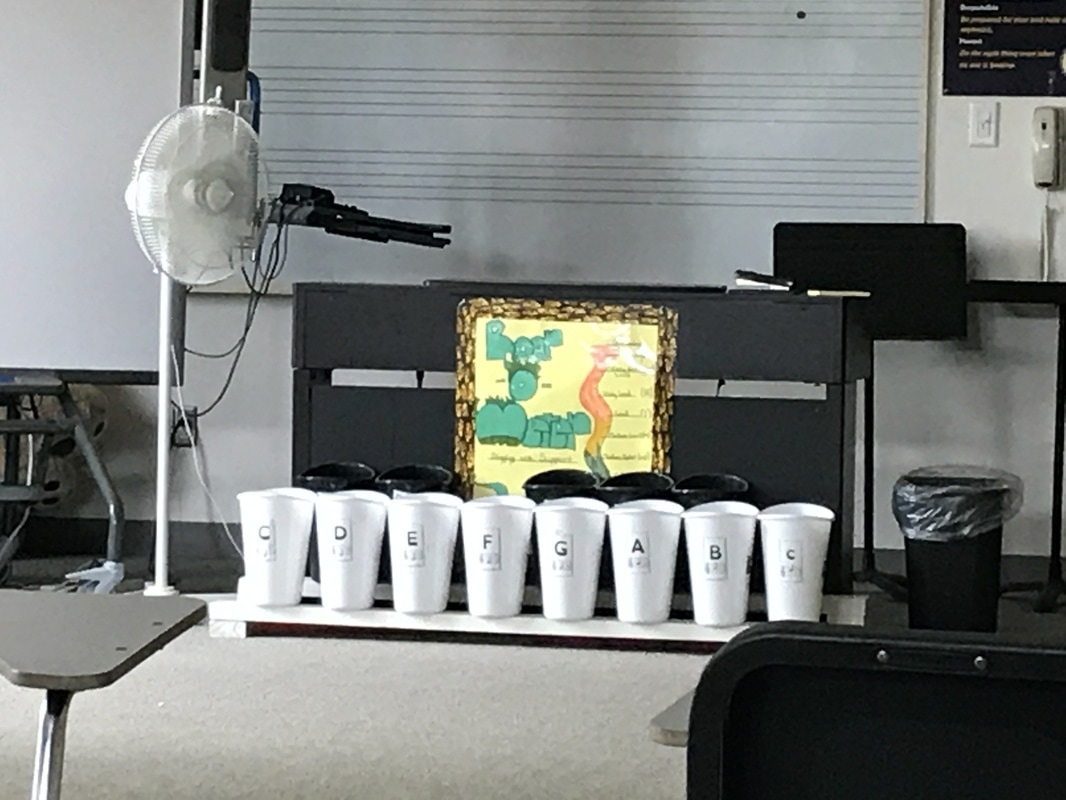
 Photo: A homemade Boomwhacker Keyboard Looking for a fun way to store your boomwhackers AND reinforce concepts like sharps and flats? Try a boomwhacker keyboard! This one took my boyfriend about 20 minutes to put together and it's so simple. You'll need: 2 long 2x4s (look in the cull section at home depot- that's the DISCOUNT wood section.) 8 white garbage bins and 5 black garbage bins from the dollar tree. Screws Paint Glue (if desired for EXTRA hold) Labels for the bins (See File Below) Screw the frame together, sand the edges and paint it/seal it. The back section needs to be higher than the front section so that you can see the labels on the bins, Then screw the garbage bins in and label them. That's it! We didn't use a template or exact measurements, either. Voila!
 Did you try this in your classroom? Have a question or suggestion? Let us know in the comments below!
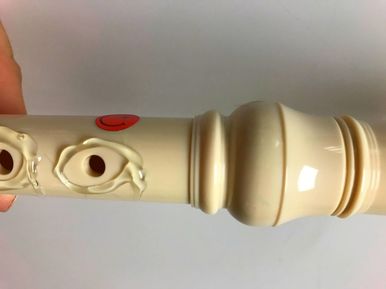
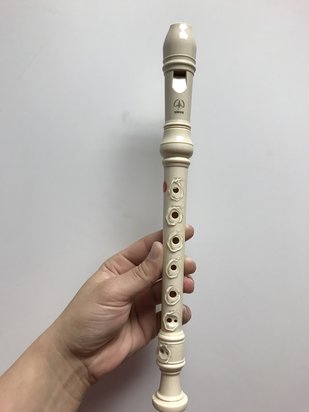
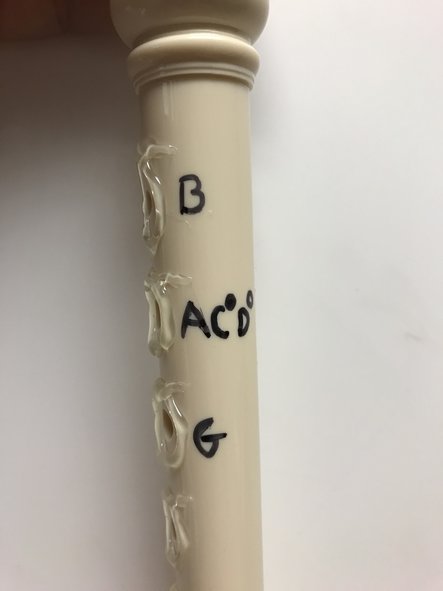
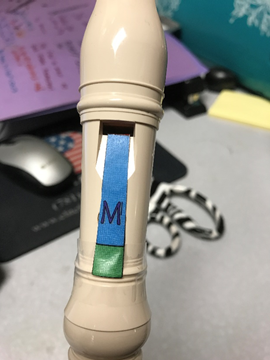
Happy Music Making! -Mel.  Photo: Recorders in their class bin with recorder "belts" . Use yarn to create inexpensive, bright belts. Inclusion in the music classroom is so beneficial for students- but what to do when tasks become too complex for some of our diverse learners? Modifications and scaffolding are an integral part of ensuring that ALL students benefit from class time, and most of the time it's up to us to develop and hone these teaching tools. Recorder can be a particularly tricky instrument to modify for given the skills required to play: hand/eye coordination, literacy, finger dexterity, breath control and internalization of the beat to name a few. Recorder requires so many skills that can sometimes be difficult for students with special needs. Here are some simple fixes that work for my room that might help these students in yours! Problem: Students Have Trouble with Remembering Which Hand Goes On Top
Problem: Students Do Not Have Enough Finger Dexterity to Feel Holes/Completely Cover Holes.
Problem: Students Can Not Remember Finger Patterns in Real Time
Problem: Students Can Not/Will Not Control Breath
Did you try this activity in your classroom? Let us know how it went in the comments below!
Happy Music Making! -Mel. 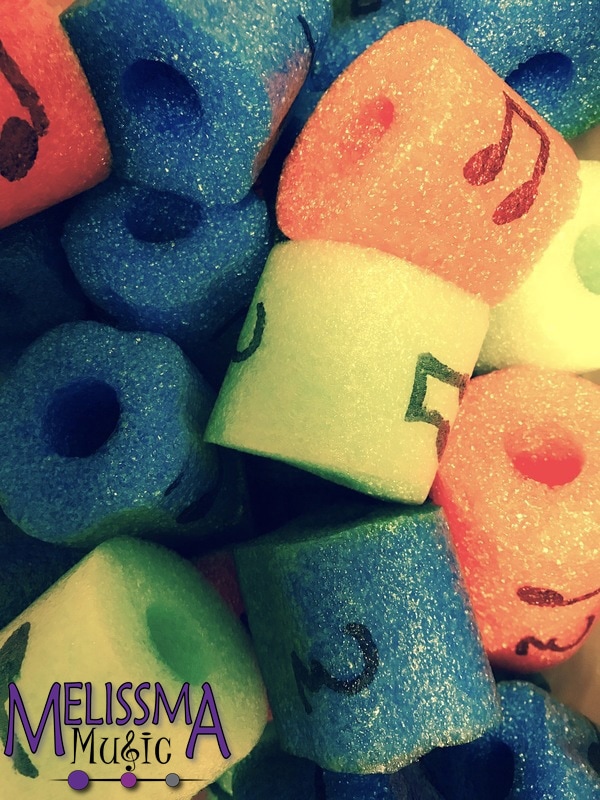 Photo: Pool Noodle Chunks Looking for a fun rhythm activity on the cheap? I LOVE it when I can make creative, fun activites and spend little to no money while doing so! For this fun activity, take a few standard issue pool noodles and chop them into 2 inch sections (sharp scissors will do the trick). Go to the Dollar Tree- you can make enough for an entire class by spending about 8 dollars. Using a sharpie, draw quarter notes, 8th note pairs and quarter rests on the noodles. I go over this with clear nail polish or elmer's glue so they don't rub off. 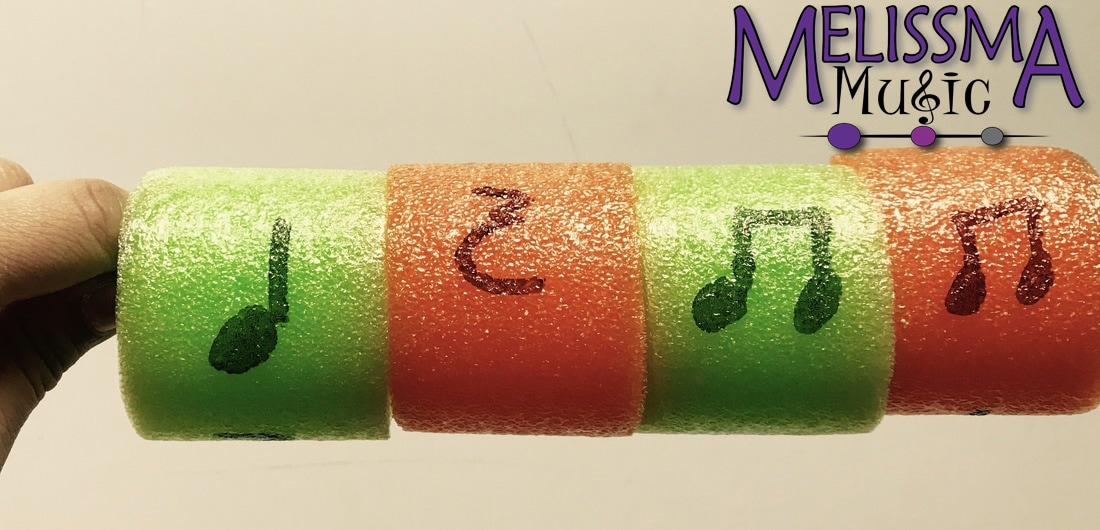 Photo: A Rhythm Kabob made from a mallet and pool noodle chunks. Using a mallet with a large tip, have students put the noodles on the mallet to make thier kabob. I usually tell them what side of the room we start reading from- Library Side- and what side of the room we end reading at- Hallway Side-. Make sure the students are oriented to make this work for the set up in your room. Students can either: Listen to the teacher play/say a pattern and write it down on thier kabob by turning the noodles. or write a rhythm pattern and then play it on an instrument. We like to do this with handchimes. I've found that having students place their kabob on the ground and turn it there works better than having them hold it in their lap or in thier hand. 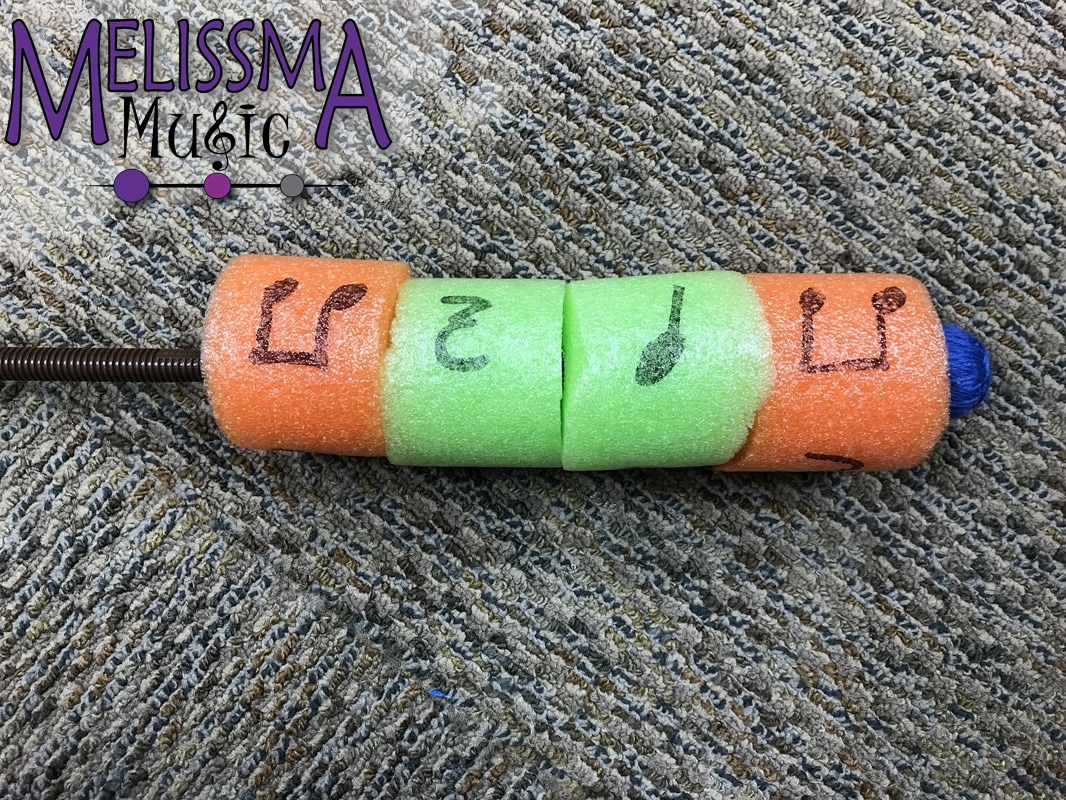 Photo: A lone kabob waits to be used. Have students keep their kabobs on the floor for the best results! Did you try this activity in your classroom? Let us know how it went in the comments below!
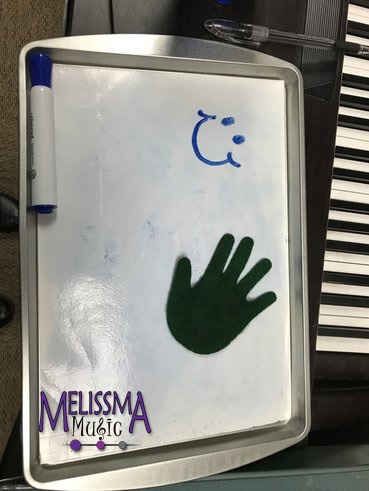
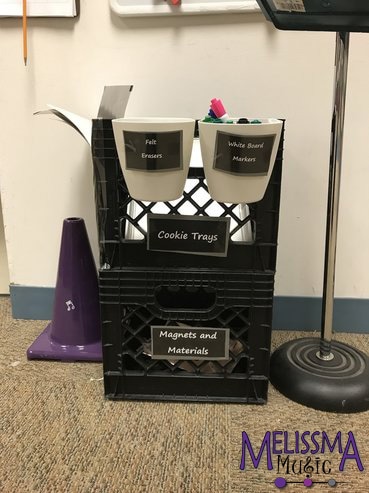
Happy Music Making! -Mel. 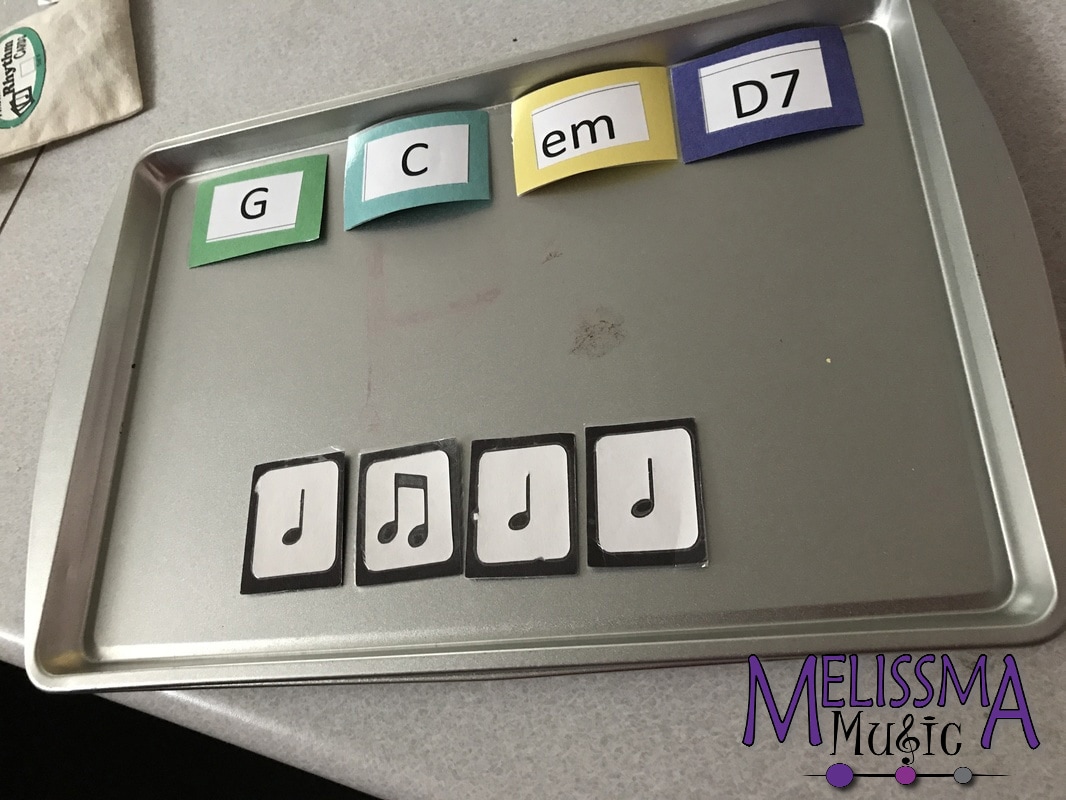 Picture: Magnetic rhythm cards form an ostinato while magnetic chord cards form a chord progression for a ukulele composition project. Cookie trays from the dollar store are a great way to get students composing! Using magnetic rhythm cards, students can create different rhythmic patterns. They can even write on the laminated cards with an Expo marker to create simple melodies (Example: Using B,A and G while composing for recorder.)
The cookie trays can even double as a white board! Laminate peices of thick white construction paper and glue magnets on the back, Expo markers will easily wipe off the laminated paper with a peice of felt. You can even cut the felt in fun shapes using a die cut press or cricut machine.
Did you try this activity in your classroom? Let us know how it went in the comments below!
Happy Music Making! -Mel. |
Mel SteigerHi-I'm Mel. I teach Music and I make stuff. If I have any really interesting ideas that I think you'd find useful, I'll post them here! Categories
All
Archives |
|||||||||||||||||||||||||