MELISSMAMUSIC
Menu
|
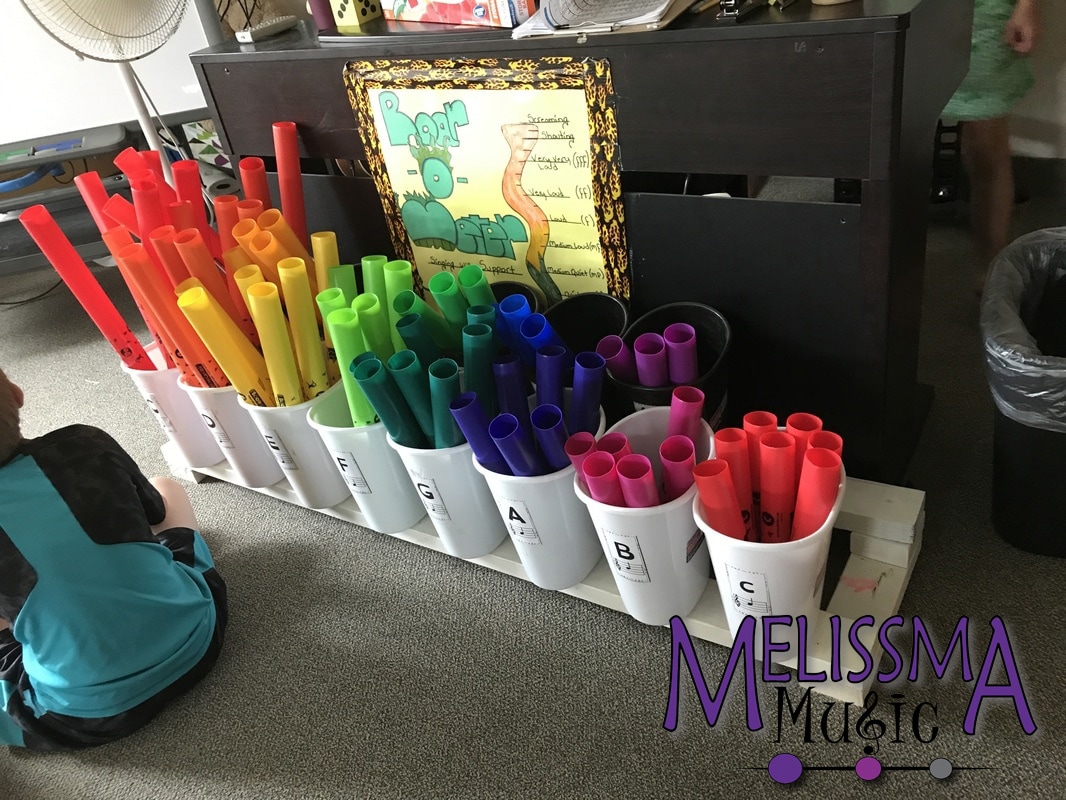
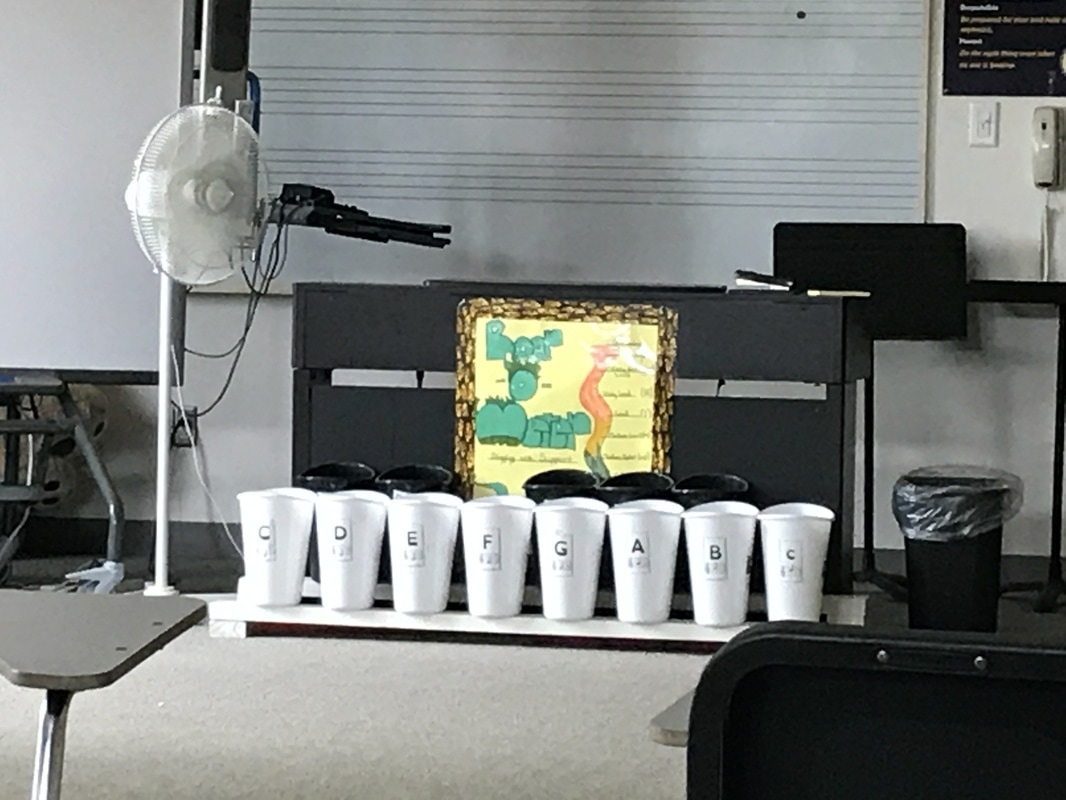
Photo: A homemade Boomwhacker Keyboard Looking for a fun way to store your boomwhackers AND reinforce concepts like sharps and flats? Try a boomwhacker keyboard! This one took my boyfriend about 20 minutes to put together and it's so simple. You'll need: 2 long 2x4s (look in the cull section at home depot- that's the DISCOUNT wood section.) 8 white garbage bins and 5 black garbage bins from the dollar tree. Screws Paint Glue (if desired for EXTRA hold) Labels for the bins (See File Below) Screw the frame together, sand the edges and paint it/seal it. The back section needs to be higher than the front section so that you can see the labels on the bins, Then screw the garbage bins in and label them. That's it! We didn't use a template or exact measurements, either. Voila!
Did you try this in your classroom? Have a question or suggestion? Let us know in the comments below!
Happy Music Making! -Mel.
1 Comment
Secong grade students compose using solfege cards and boomwhackers Hey! It’s the first blog post of MLOG- Melissma Music’s Music Ed Blog! Huzzah!
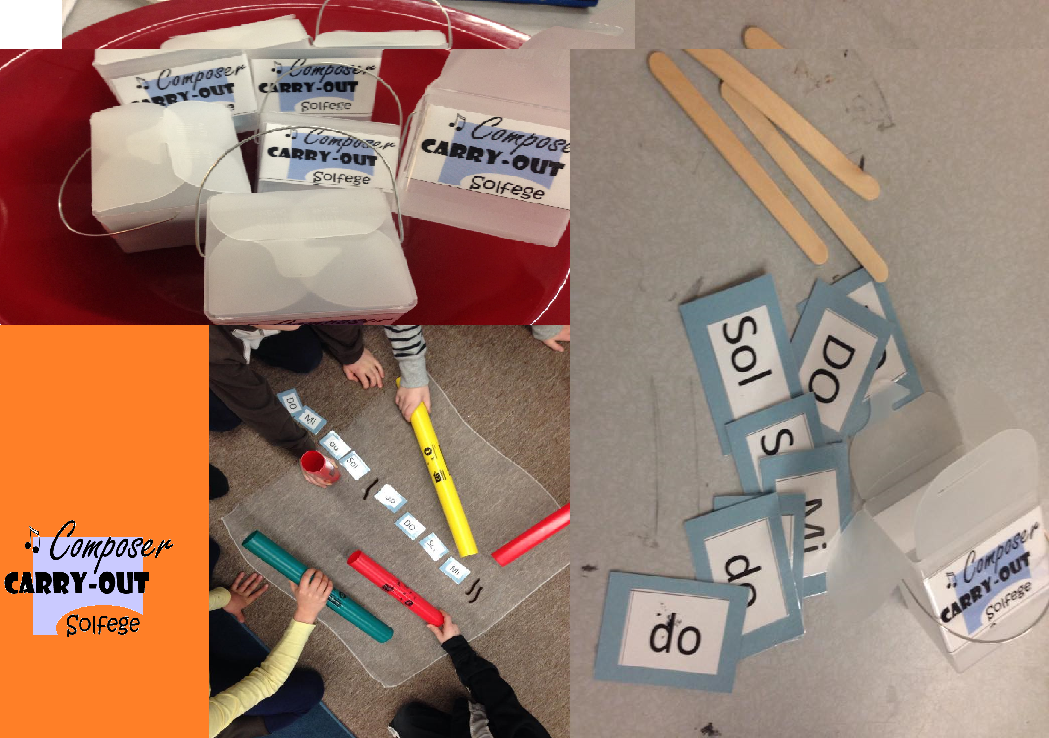
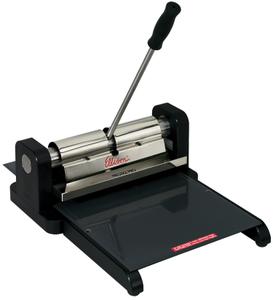
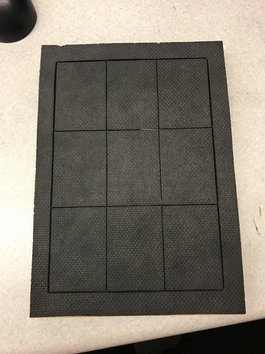
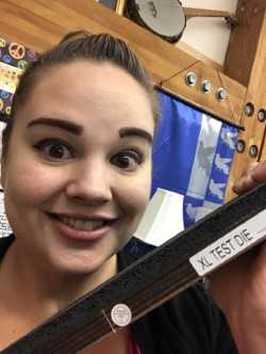
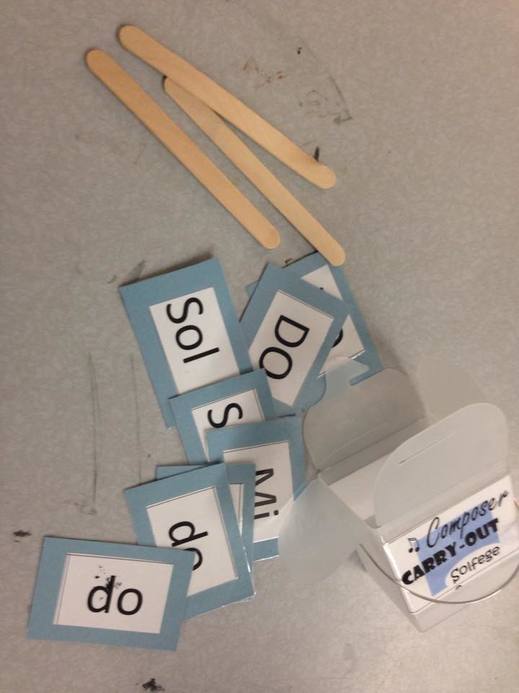
This is what it looks like: You can get one here http://www.mpmschoolsupplies.com/p-32496-ellison-prestige-pro-machine.aspx?gclid=CK-W7caJp9QCFYOEswod1ccHPw or a million other places online! The Ellison Prestige Pro Die Press It’s a fun little contraption that cuts out paper in specific shapes, letters, designs, anything really. If you laminate the paper before you cut it, things become even easier and the cut outs will last a really long time! They even have notation cut outs! One of my favorite parts of this little machine, however, is the test block. The test block- perfect for making student-sized cards! This block comes FREE with the machine! Usually used to test the pressure distribution on the die cutter, I’ve found that this handy block can be used to make perfectly sized cards that can be used for a myriad of different projects in the music room. The best part? It comes FREE with the machine and is rarely, if ever, used! I bet if your school has one, It’s sitting all alone having never been used once. Which is sad, because it’s so handy dandy! Composing with the cards that the test die produces is super easy and turns an aural experience into something that is tactile and visual as well. This helps our younger leaners and can help to alleviate some of the abstractness that goes along with traditional composing exercises. For a few examples, I use the die-cut cards to compose using solfege (2nd Grade), we use them to figure out ukulele chord progressions for spoken-word songs (5th Grade) and we use them for recorder compositions (3rd grade). For this post I’m going to give you a more detailed look at the solfege exercise. I’ll break down the other lessons in future posts. Composing with Cards, Pipe Cleaners (or Popsicle Sticks), Boomwhackers and a Take Out Box This is a fun activity that my second graders love! You’ll need: -Small take out boxes- I order them from Oriental Trading Company and they work well for a lot of different projects http://www.orientaltrading.com/web/browse/processProductsCatalog?sku=3/1271&source=GUIDED_NAV_RESULTS -Small cards with different solfege written on the front. I cut them out using an Ellison die press (see the info above). I stick these inside the carry out boxes to make a little “Carry Out Composer” kit. If you’d like, here is the file for the cut outs that get glued onto each card- make sure to laminate so that your hard work is not lost!
-D,M,S,d boomwhacker for each group
-pipe cleaners or Popsicle sticks for bar lines -optional: movement scarves to “cover up” work when done. The process is super easy. Each group gets their materials- the carry out boxes contain 2 of each syllable so there are only enough cards to make two complete measures with 4 quarter notes each. Let the kiddos go to town! They can experiment with different melodies created using D,M,S and d. They should be able to play their melodies on boomwhackers and then practice singing them as well. They should be fairly familiar with each syllable and its hand sign- and I usually do some echoing beforehand to get their ears working. Give the kids a bit of time to work on their songs… but then through them a curveball. Play your songs… do they sound like a complete thought? What’s missing? The song needs to go back to Do to sound like it’s over! Now you need to re-arrange your songs so that Big Do is the last note. Then, each group will play their song for the class. Sometimes we even rotate groups- I’ll make sure each scarf is a different color and the kids will rotate to the different color stations and play that group’s creation. It’s a really easy solfege reinforcement lesson- plus the kids are working on steady beat, pitch matching, bar lines, tonality, working in a group, social skills and more. Try it out and let me know how it goes in the comments section below! -Mel |
Mel SteigerHi-I'm Mel. I teach Music and I make stuff. If I have any really interesting ideas that I think you'd find useful, I'll post them here! Categories
All
Archives |
||||||||||||

 RSS Feed

