 RSS Feed
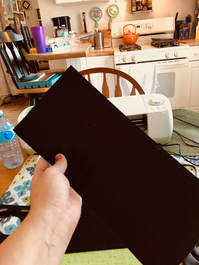
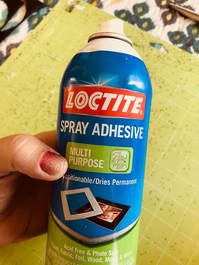
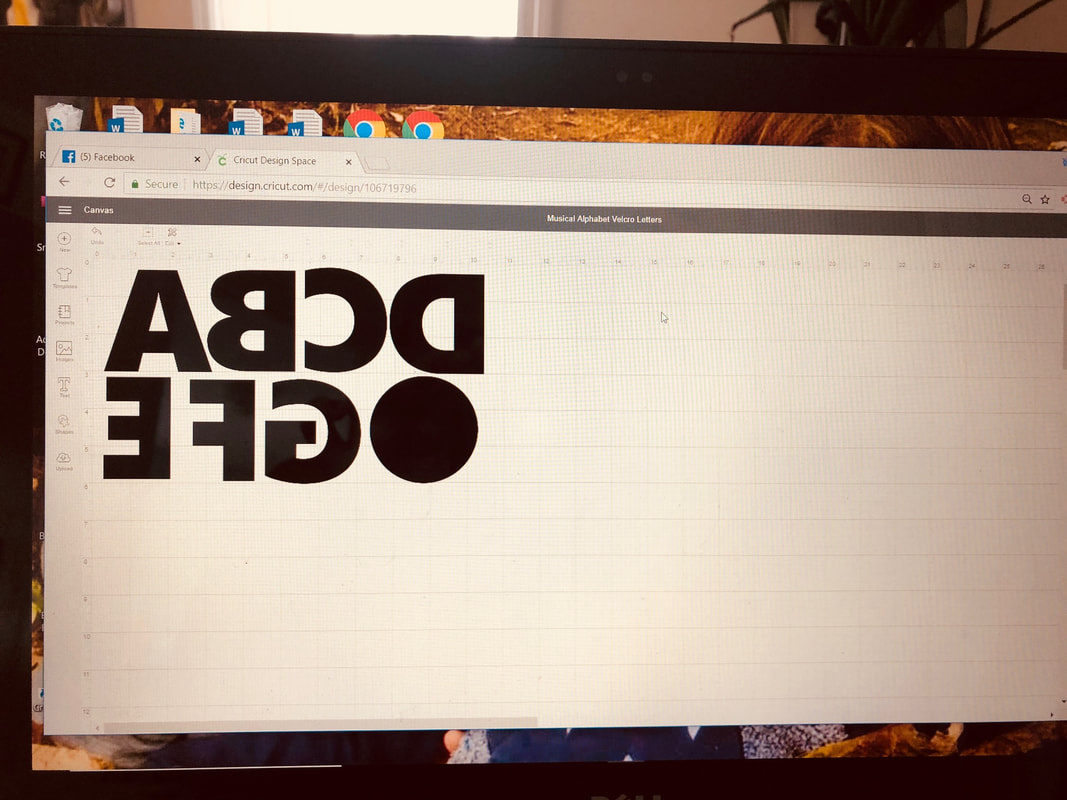
 So you have a carpet in your room and need to figure out seating? Carpets help to absorb the sound we make... so you want to keep your carpet at all costs! However you can't do anything to permanently mark the carpet... administration won't like that. I used to use carpet squares, but now many states now have rules about any and all fabrics/rugs in the classroom- they must meet California regulations for fire safety. So what do you do? Well, this neat cricut craft will help with seating AND meet all the regulations: Velcro Carpet Letters! You will need: Circut Explore (or Higher) and Standard Mat available Here You can also use a die-cut machine if available Spray Adhesive Available Here Hook Side Only Fastener- 6 inch by 1 yard ( I bought 3 yards and it made 56 letters) Available Here
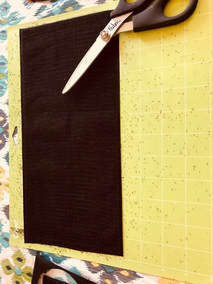
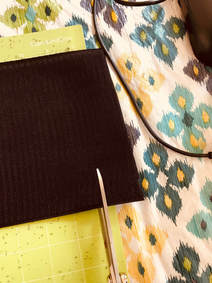
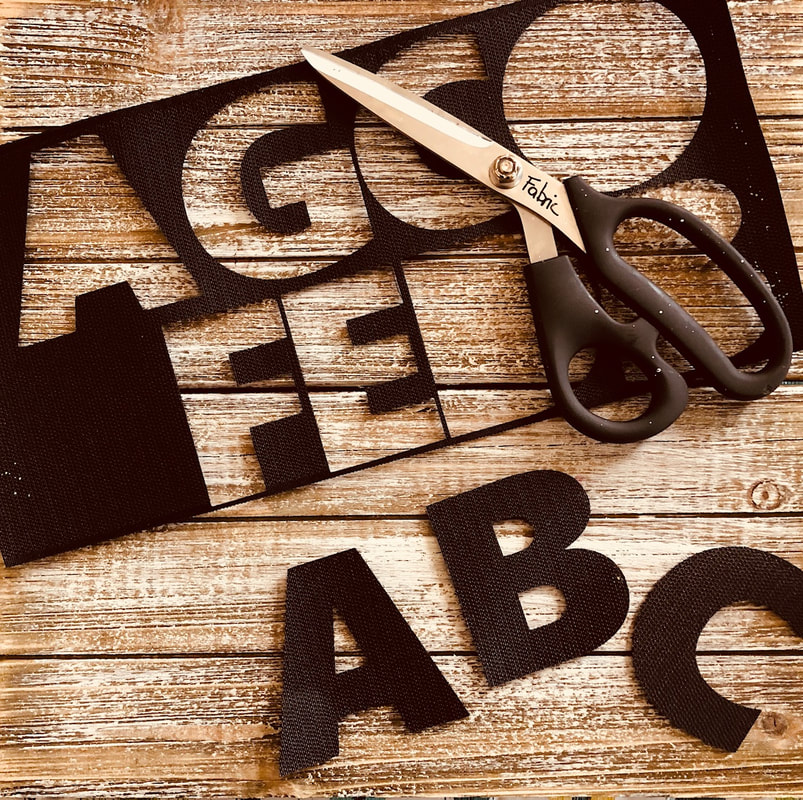
 Cut it out! Don't mind the stubble- it comes off with a good scraping! 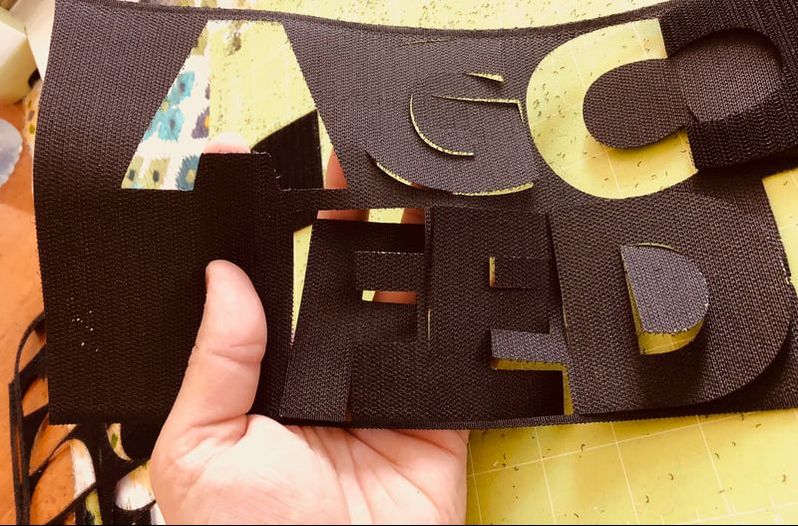 Peel and Enjoy! I'll be applying a layer of T-shirt paint to color-code these for my seating charts!
0 Comments
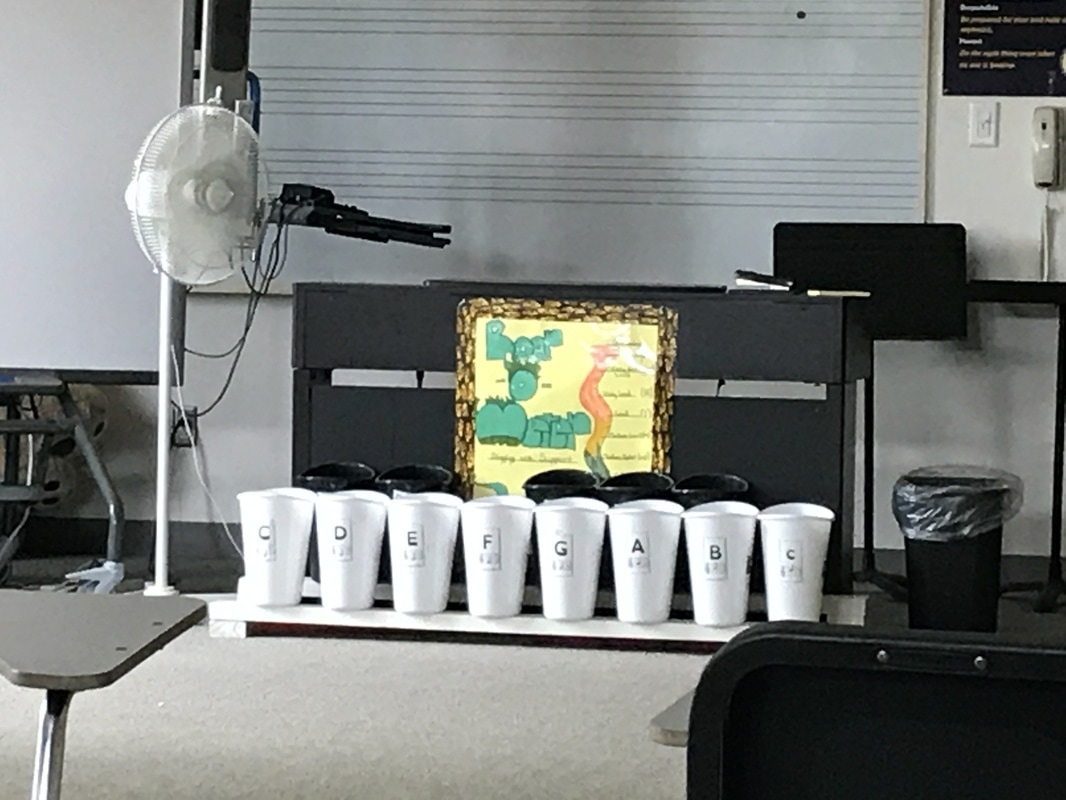
 Photo: A homemade Boomwhacker Keyboard Looking for a fun way to store your boomwhackers AND reinforce concepts like sharps and flats? Try a boomwhacker keyboard! This one took my boyfriend about 20 minutes to put together and it's so simple. You'll need: 2 long 2x4s (look in the cull section at home depot- that's the DISCOUNT wood section.) 8 white garbage bins and 5 black garbage bins from the dollar tree. Screws Paint Glue (if desired for EXTRA hold) Labels for the bins (See File Below) Screw the frame together, sand the edges and paint it/seal it. The back section needs to be higher than the front section so that you can see the labels on the bins, Then screw the garbage bins in and label them. That's it! We didn't use a template or exact measurements, either. Voila!
 Did you try this in your classroom? Have a question or suggestion? Let us know in the comments below!
Happy Music Making! -Mel. |
Mel SteigerHi-I'm Mel. I teach Music and I make stuff. If I have any really interesting ideas that I think you'd find useful, I'll post them here! Categories
All
Archives |
|||||||||||||